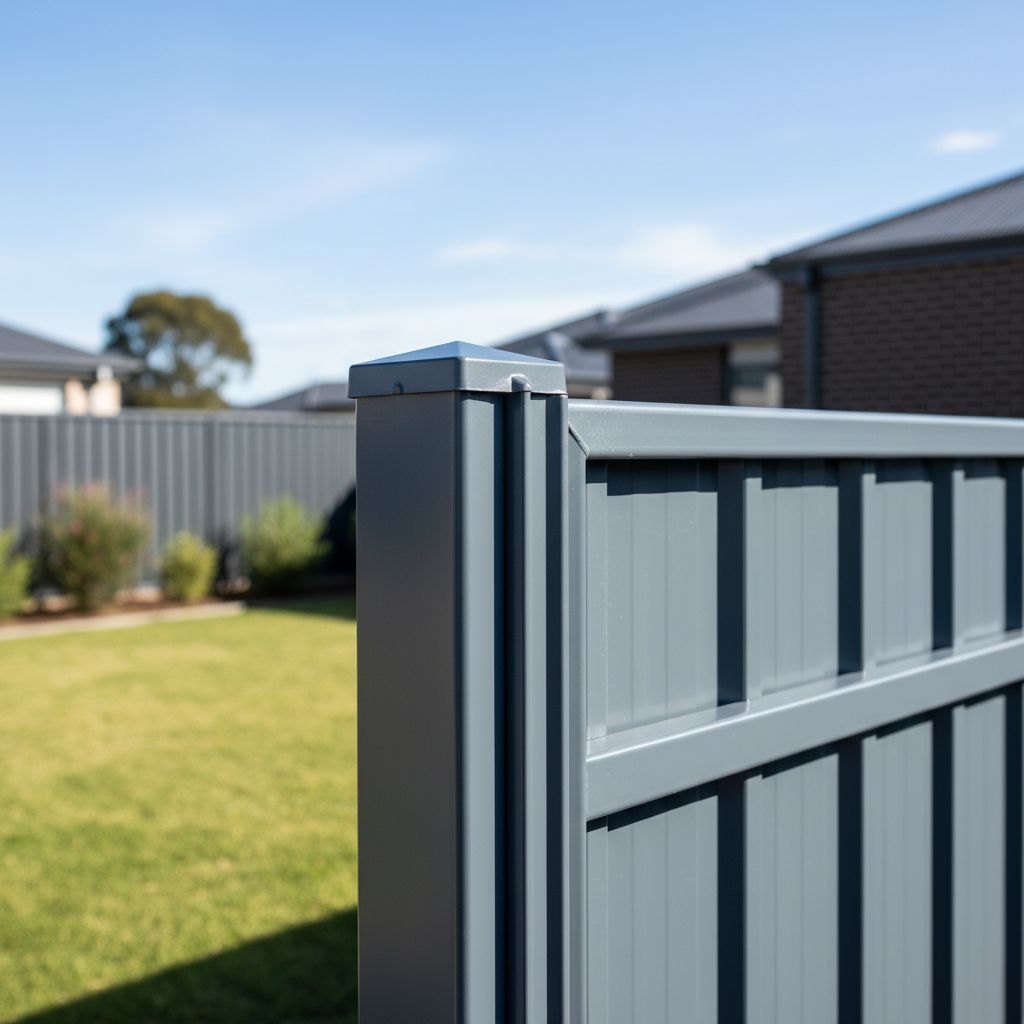
Start with a side view of the boundary
A plan viewed from above tells you where the fence runs, but it hides the problem that matters most on a slope: how the ground rises beneath each panel. Before requesting a particular look, draw a simple side view. Mark the house end, the rear corner, any gate, obvious high points and low spots. It does not need survey accuracy. Its purpose is to show the installer which transitions require actual measurement instead of treating the boundary as one steady incline.
Photographs are useful when they include a recognisable fixed reference, such as a building corner, and show where the camera was standing. Photograph from your own accessible ground without leaning on an unstable fence or walking into a work area. An image taken straight along the fence can compress the slope and hide a dip. A second view from the yard often reveals why a straight panel line would leave an opening underneath or lose privacy at the upper end.
Separate existing ground from intended finished ground. A new path, garden bed or driveway can change the bottom clearance after the fence has been ordered. Tell the fencer which surfaces are staying and which are only temporary. If different trades are involved, name who will confirm the final levels. Otherwise each contractor can produce reasonable work against a different assumption, leaving the fence and landscape unable to meet neatly.
Understand stepped and raked layouts
A stepped layout keeps each bay broadly level and changes height between bays. Viewed from the side, the top line resembles a staircase. This can produce an orderly appearance when the changes occur at deliberate points. However, the lower rail is also level while the ground continues to fall. That difference can create a wedge-shaped space beneath a bay. The drawing needs to show that space, not just the attractive top edge.
A raked layout follows the incline through the bay, with the relationship between posts, rails and infill determined by the selected system. It can reduce the visual staircase on an even slope, but it is not a licence to bend a standard panel into any angle. Ask the installer to identify the actual product and its permitted configuration. A brochure image of a different profile is not enough to establish how your chosen components can be arranged.
The LYSAGHT fencing and gates design guide provides manufacturer-specific guidance for its systems. It is a useful reference for discussing a proposed detail, rather than a universal specification for all steel fences. For timber, ask how the rails, paling ends and capping will follow the slope. Compare these visible details on the quote drawing before deciding that either approach is automatically better.
Resolve the bottom edge as a separate requirement
The bottom of the fence needs its own brief. A household seeking visual separation might accept a modest open strip that another household with a small dog cannot use. An uneven lawn can have several different gaps along a single bay. Describe the purpose of containment and ask how the largest opening will be addressed at the finished surface. Do not judge the whole boundary by the point where the panel happens to sit closest to the ground.
Avoid solving the sketch by simply piling soil against the fence. Retaining soil and screening a boundary are different functions. A base treatment may be possible, but the designer needs to establish what supports it, how it meets the posts and what happens to water. A loose collection of boards, pavers or mesh pushed into gaps is also difficult to maintain and can conceal movement. Ask for an intentional detail that can be inspected and repaired.
At a path or mowing edge, think about future access as well as today's appearance. Can the grass edge be maintained without damaging the panel? Will mulch gradually accumulate against the bottom rail? Is the infill replaceable if the landscape changes? These are useful questions for both steel and timber. The dog containment guide looks more closely at how bottom gaps interact with gates, corners and animal behaviour.
Treat retaining walls and drainage as interfaces
An existing retaining wall is not automatically a suitable fence foundation. Give the installer whatever information you have about the wall, including old plans or the original contractor's details. Describe whether it appears to be leaning, cracking or moving, but do not excavate around it to investigate. A fence above a wall, beside a wall or attached to it creates different design questions. The appropriate professional should assess support before anyone assumes an attachment detail.
Where the two sides of the boundary have different ground levels, request a section drawing through the fence. This should show the surfaces on both sides and identify which element retains the higher ground. It should also show where the fence starts relative to that element. Without a section, the same phrase, such as fence above the wall, can mean several different things to the homeowner, landscaper and installer.
Record where you have previously seen water collect or travel during ordinary rain. That observation is useful background, not a drainage diagnosis. Ask how the proposed fence base and landscaping will avoid obstructing the intended drainage arrangement. If water movement needs redesign, include that as a separate task for the relevant professional. A fence quotation should not quietly become a promise to fix an unresolved drainage problem across neighbouring properties.
Put gates where their movement can be assessed
A gate must travel through space, whereas an ordinary panel stays in one place. A driveway that rises behind a closed gate can obstruct its opening arc. A gate that clears the ground at the latch may still meet a higher point partway through its movement. Mark the whole area through which the gate would move. The installer should assess that area against the planned finished surface, not just measure the opening between posts.
There are trade-offs between a swing gate, a sliding arrangement and a different entrance position. Sliding requires somewhere for the leaf to travel and suitable system design. Swinging requires a clear arc and appropriate support. Neither can be selected from slope alone. Include parked vehicles, bins, garden beds, pedestrian routes and access to the house in the discussion. The driveway gate layout guide develops those questions in more detail.
The transition from sloping fence to gate deserves an elevation drawing. Ask whether the gate top will align with the uphill bay, the downhill bay or a separate reference. Also ask how the bottom opening changes across the entrance. A visually continuous top line can conceal a large clearance below. Making this choice early is easier than discovering after fabrication that the gate looks correct but does not meet the household's containment needs.
Compare complete options using the same sketch
Hypothetical example: a rear boundary falls steadily beside a lawn, then drops more sharply near a shed. The owners prefer a raked appearance along the lawn but need a gate near the shed for equipment access. One proposal might rake the regular portion and introduce a planned transition before the gate. Another might use steps throughout. The useful comparison is the complete elevation, including bottom gaps and the gate, rather than two isolated photographs.
For each option, ask what changes in panel arrangement, post positions, infill detailing and finishing. Also ask which parts are standard components and which require fabrication. Bespoke pieces can solve awkward geometry, but they need a clear replacement path. The cheapest looking panel schedule can be less practical if a damaged end piece later requires an unusual shape that nobody has documented. Keep the product names and drawings with the completed fence records.
Privacy should be judged from where people use the property. A fence that appears consistent from the lower yard can feel lower when seen from an elevated patio. Walk through the ordinary viewing positions and identify which matter most. Do not assume every part of the run needs the same visual treatment. The privacy sightline guide explains how a targeted layout can address a specific view without choosing height by guesswork.
Agree what the site measure must settle
The initial enquiry can explain the problem, but the site measure needs to turn it into decisions. Ask the fencer to confirm the level references, proposed bay breaks, gate position and the relationship to any retaining structure. If these remain provisional, identify the information still needed and who will supply it. A quote labelled subject to levels is difficult to compare unless you understand which design features could change once those levels are confirmed.
Describe access for the work without deciding the construction method yourself. A narrow side passage, established planting or a steep bank may affect how materials reach the line. Make these constraints visible before the work is scheduled. Avoid moving heavy items or clearing vegetation to make an assumed access route. The contractor needs to decide the safe work area and explain any preparation required from you before the old boundary is opened.
Ask for the final drawing to distinguish confirmed items from allowances. Confirmed items might include the selected profile, the agreed gate location and the retained garden edge. An allowance might concern an unresolved wall interface requiring assessment. This distinction helps prevent a general fencing price from being mistaken for a fully designed solution to every ground condition. Keep the agreed sketch alongside the written scope so the installer and owner refer to the same version.
Check the result from both ends of the run
At handover, look at the complete top line and bottom line from ordinary accessible positions. Compare the visible steps and transitions with the agreed drawing. Ask the installer to demonstrate the gate through its full movement while you stand outside the movement area. A closing position alone does not show whether the leaf clears the ground throughout its travel. Any adjustment should remain with the installer, especially where the gate is powered.
Record the finished ground conditions in photographs before landscaping changes them. This gives you a practical reference if a future path, raised bed or resurfacing project alters the clearance. Tell subsequent trades that the fence was detailed against those levels. Changing the ground can change how a gate operates or where water collects, even when the fencing itself has not been altered. That information belongs with the garden and driveway plans as well as the fence invoice.
For ongoing observations, note specific changes rather than simply describing the fence as uneven. Record a new gap at a named bay, a latch that now meets differently or a panel edge that has shifted relative to a fixed reference. Do not force a jammed gate or try to straighten posts yourself. Clear observations make it easier for the installer to decide whether the concern relates to the fence, the ground or a later change nearby.
Slope brief readiness checklist
Gather these observations from safe, accessible ground. The checklist prepares a discussion, not a footing or retaining design.
First planning note: I have marked rises, dips and abrupt changes on a rough side-view sketch.